PREP WORK
Preparation is our number one priority at SETnSTONE.
Every project is different and we treat each one as such; quality installation comes from quality prep performance to withstand the test of time.
We know what "hidden" materials are best suited for each and every application. We have the "tried & true" knowledge of what backer boards, self levelers, anti-fracture membranes, waterproofers & adhesive's should be used and why.
Shower Preparation
Here is an example of ONE way we may prep a shower stall for tile installation:
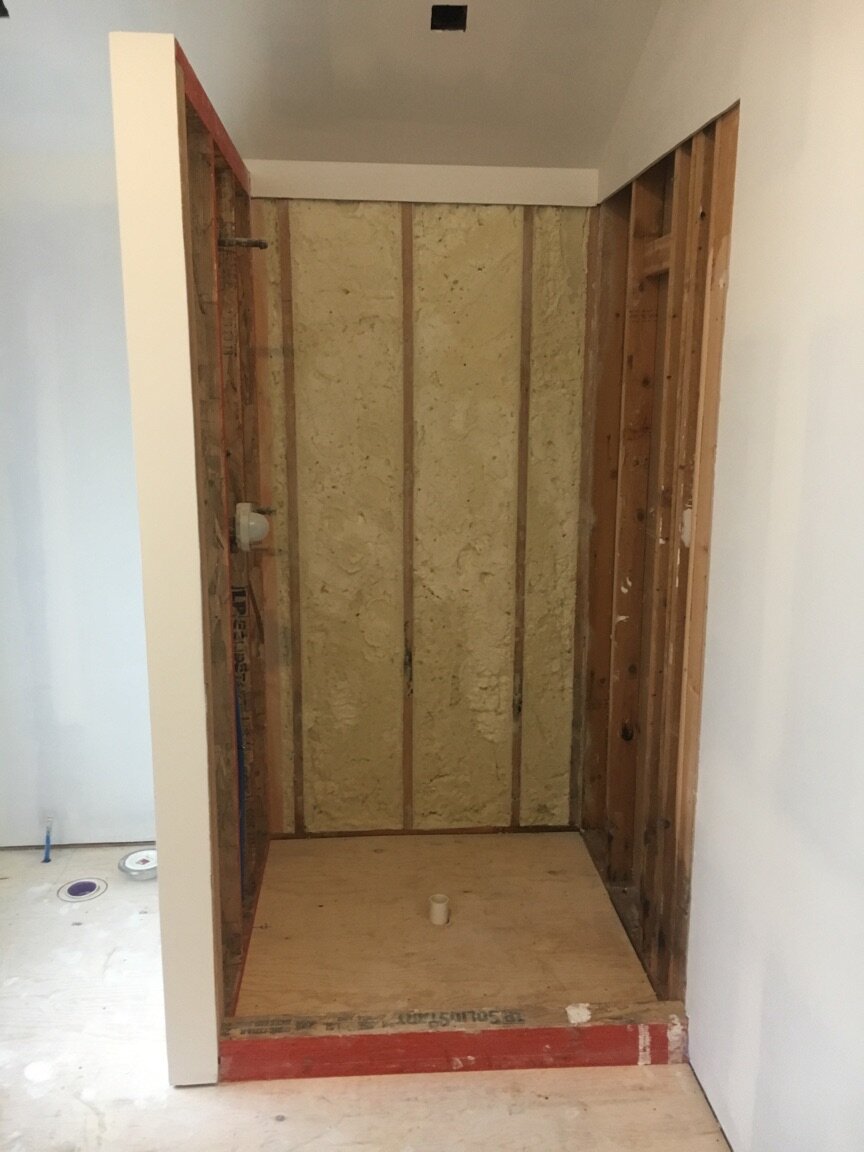
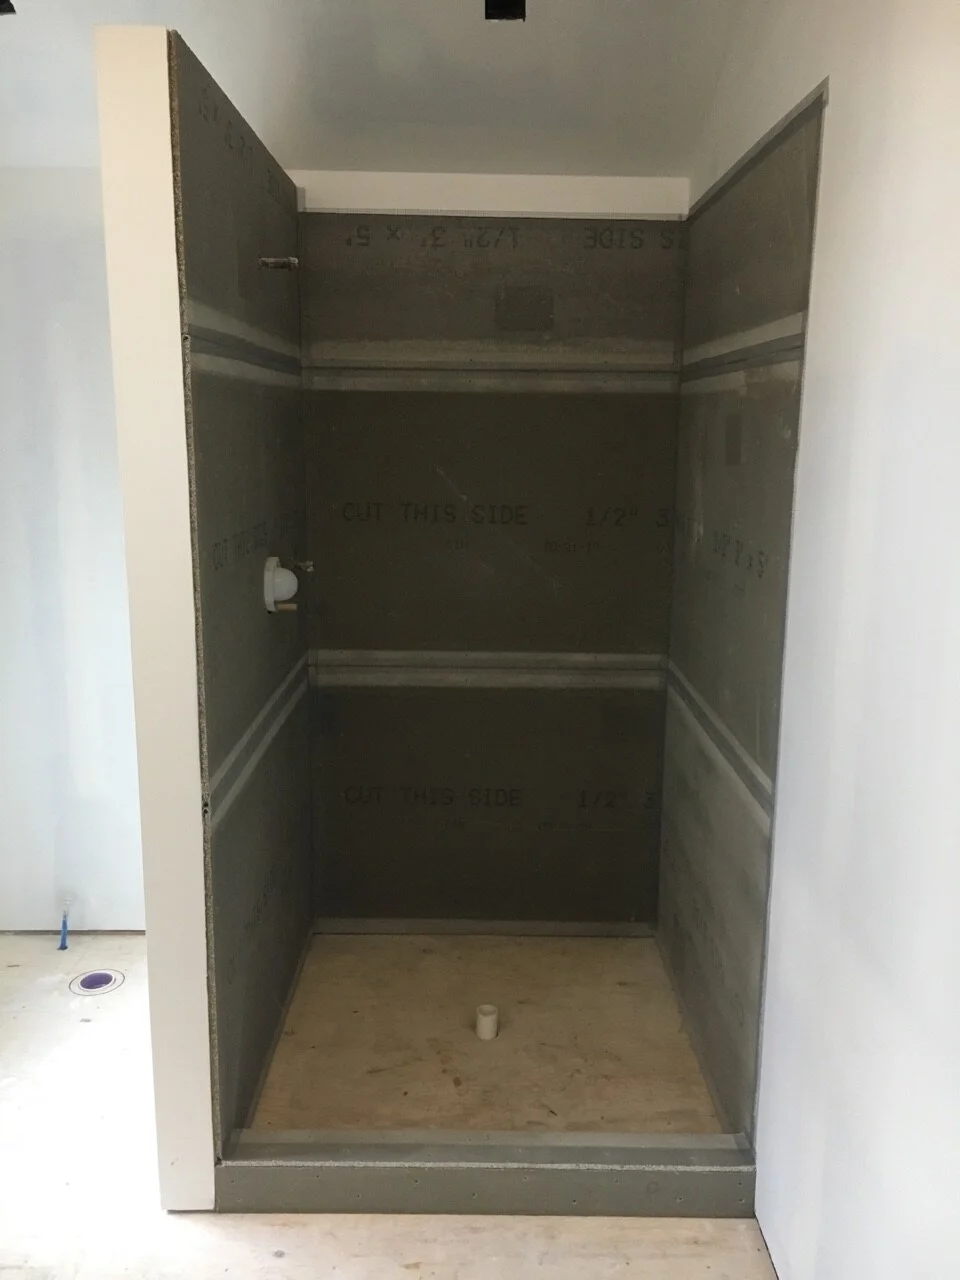
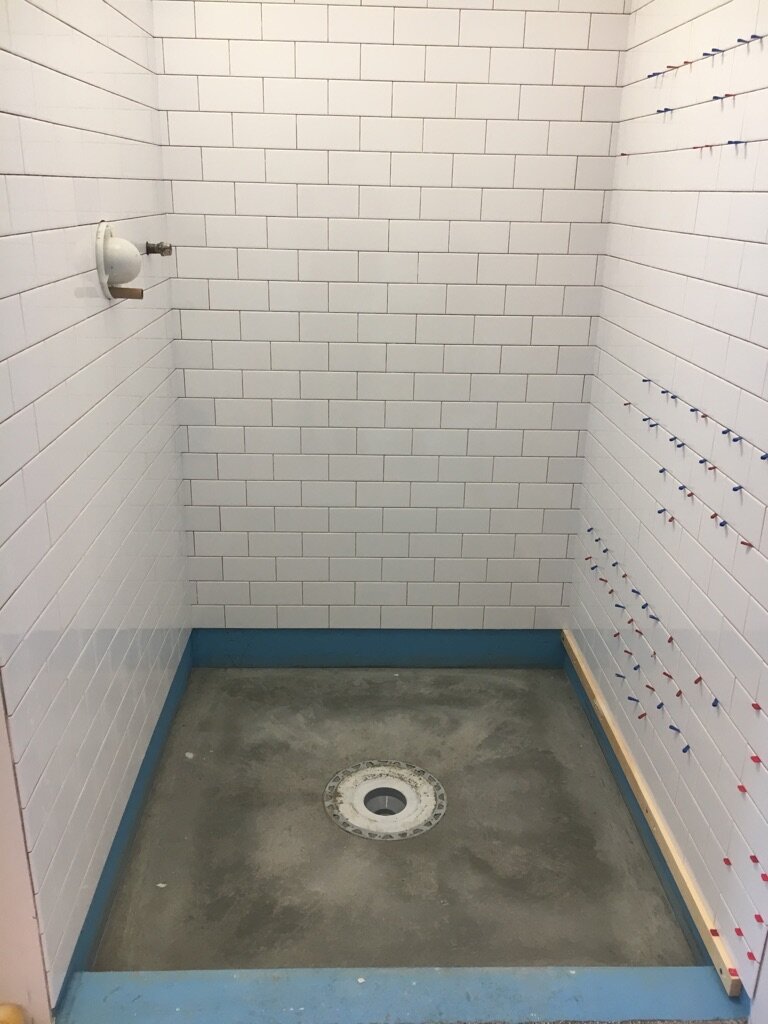
First we prepped the studs in shower stall to ensure everything is on the same plane, flat and plumb (pictured left). Next we installed cement board (pictured right).
We then applied a waterproofer/crack isolation membrane to the cement board.
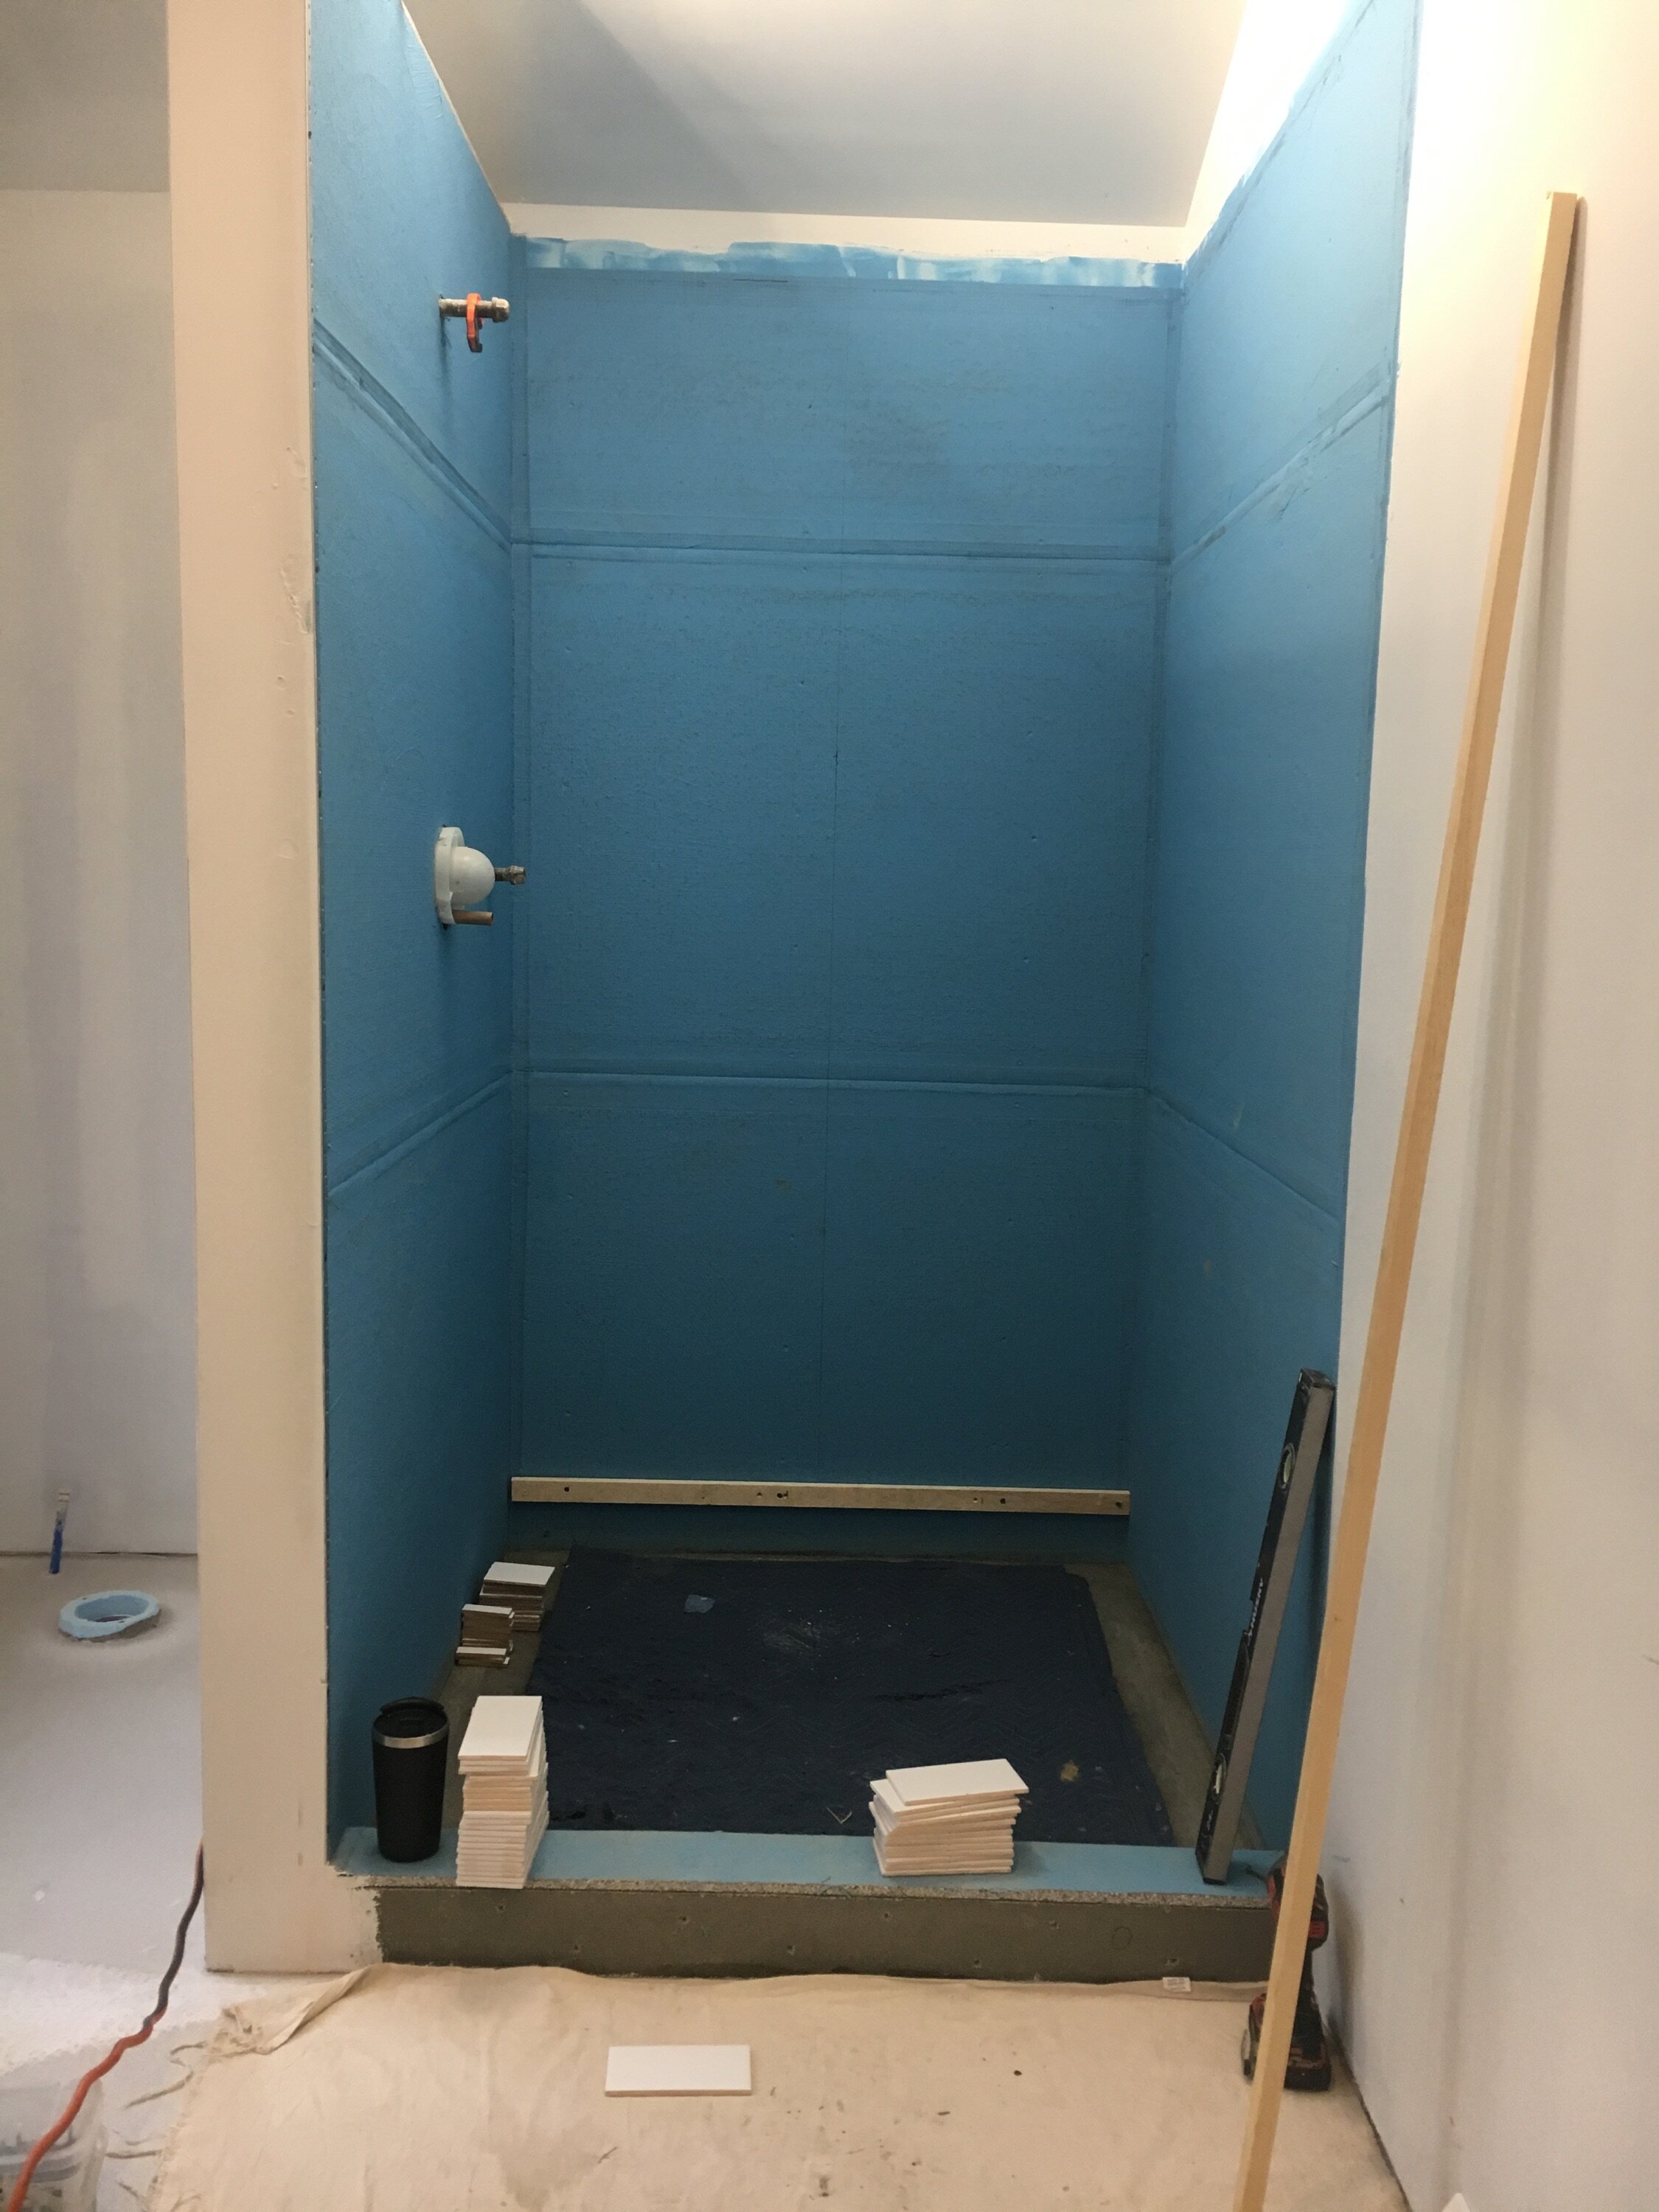
We “mudded” the shower floor to give it the correct pitch to the shower drain (lower left). We then installed the shower pan, Shluter’s Kerdi membrane, in order to keep water from escaping (lower right).
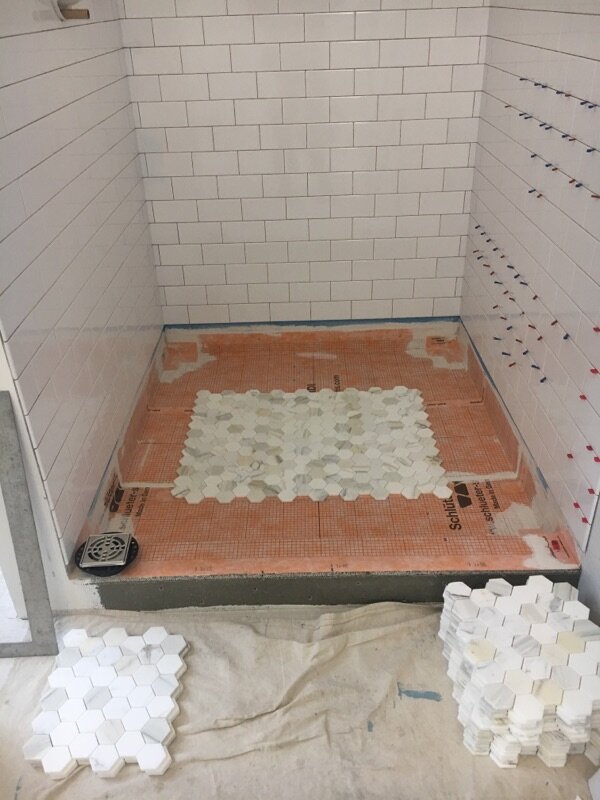
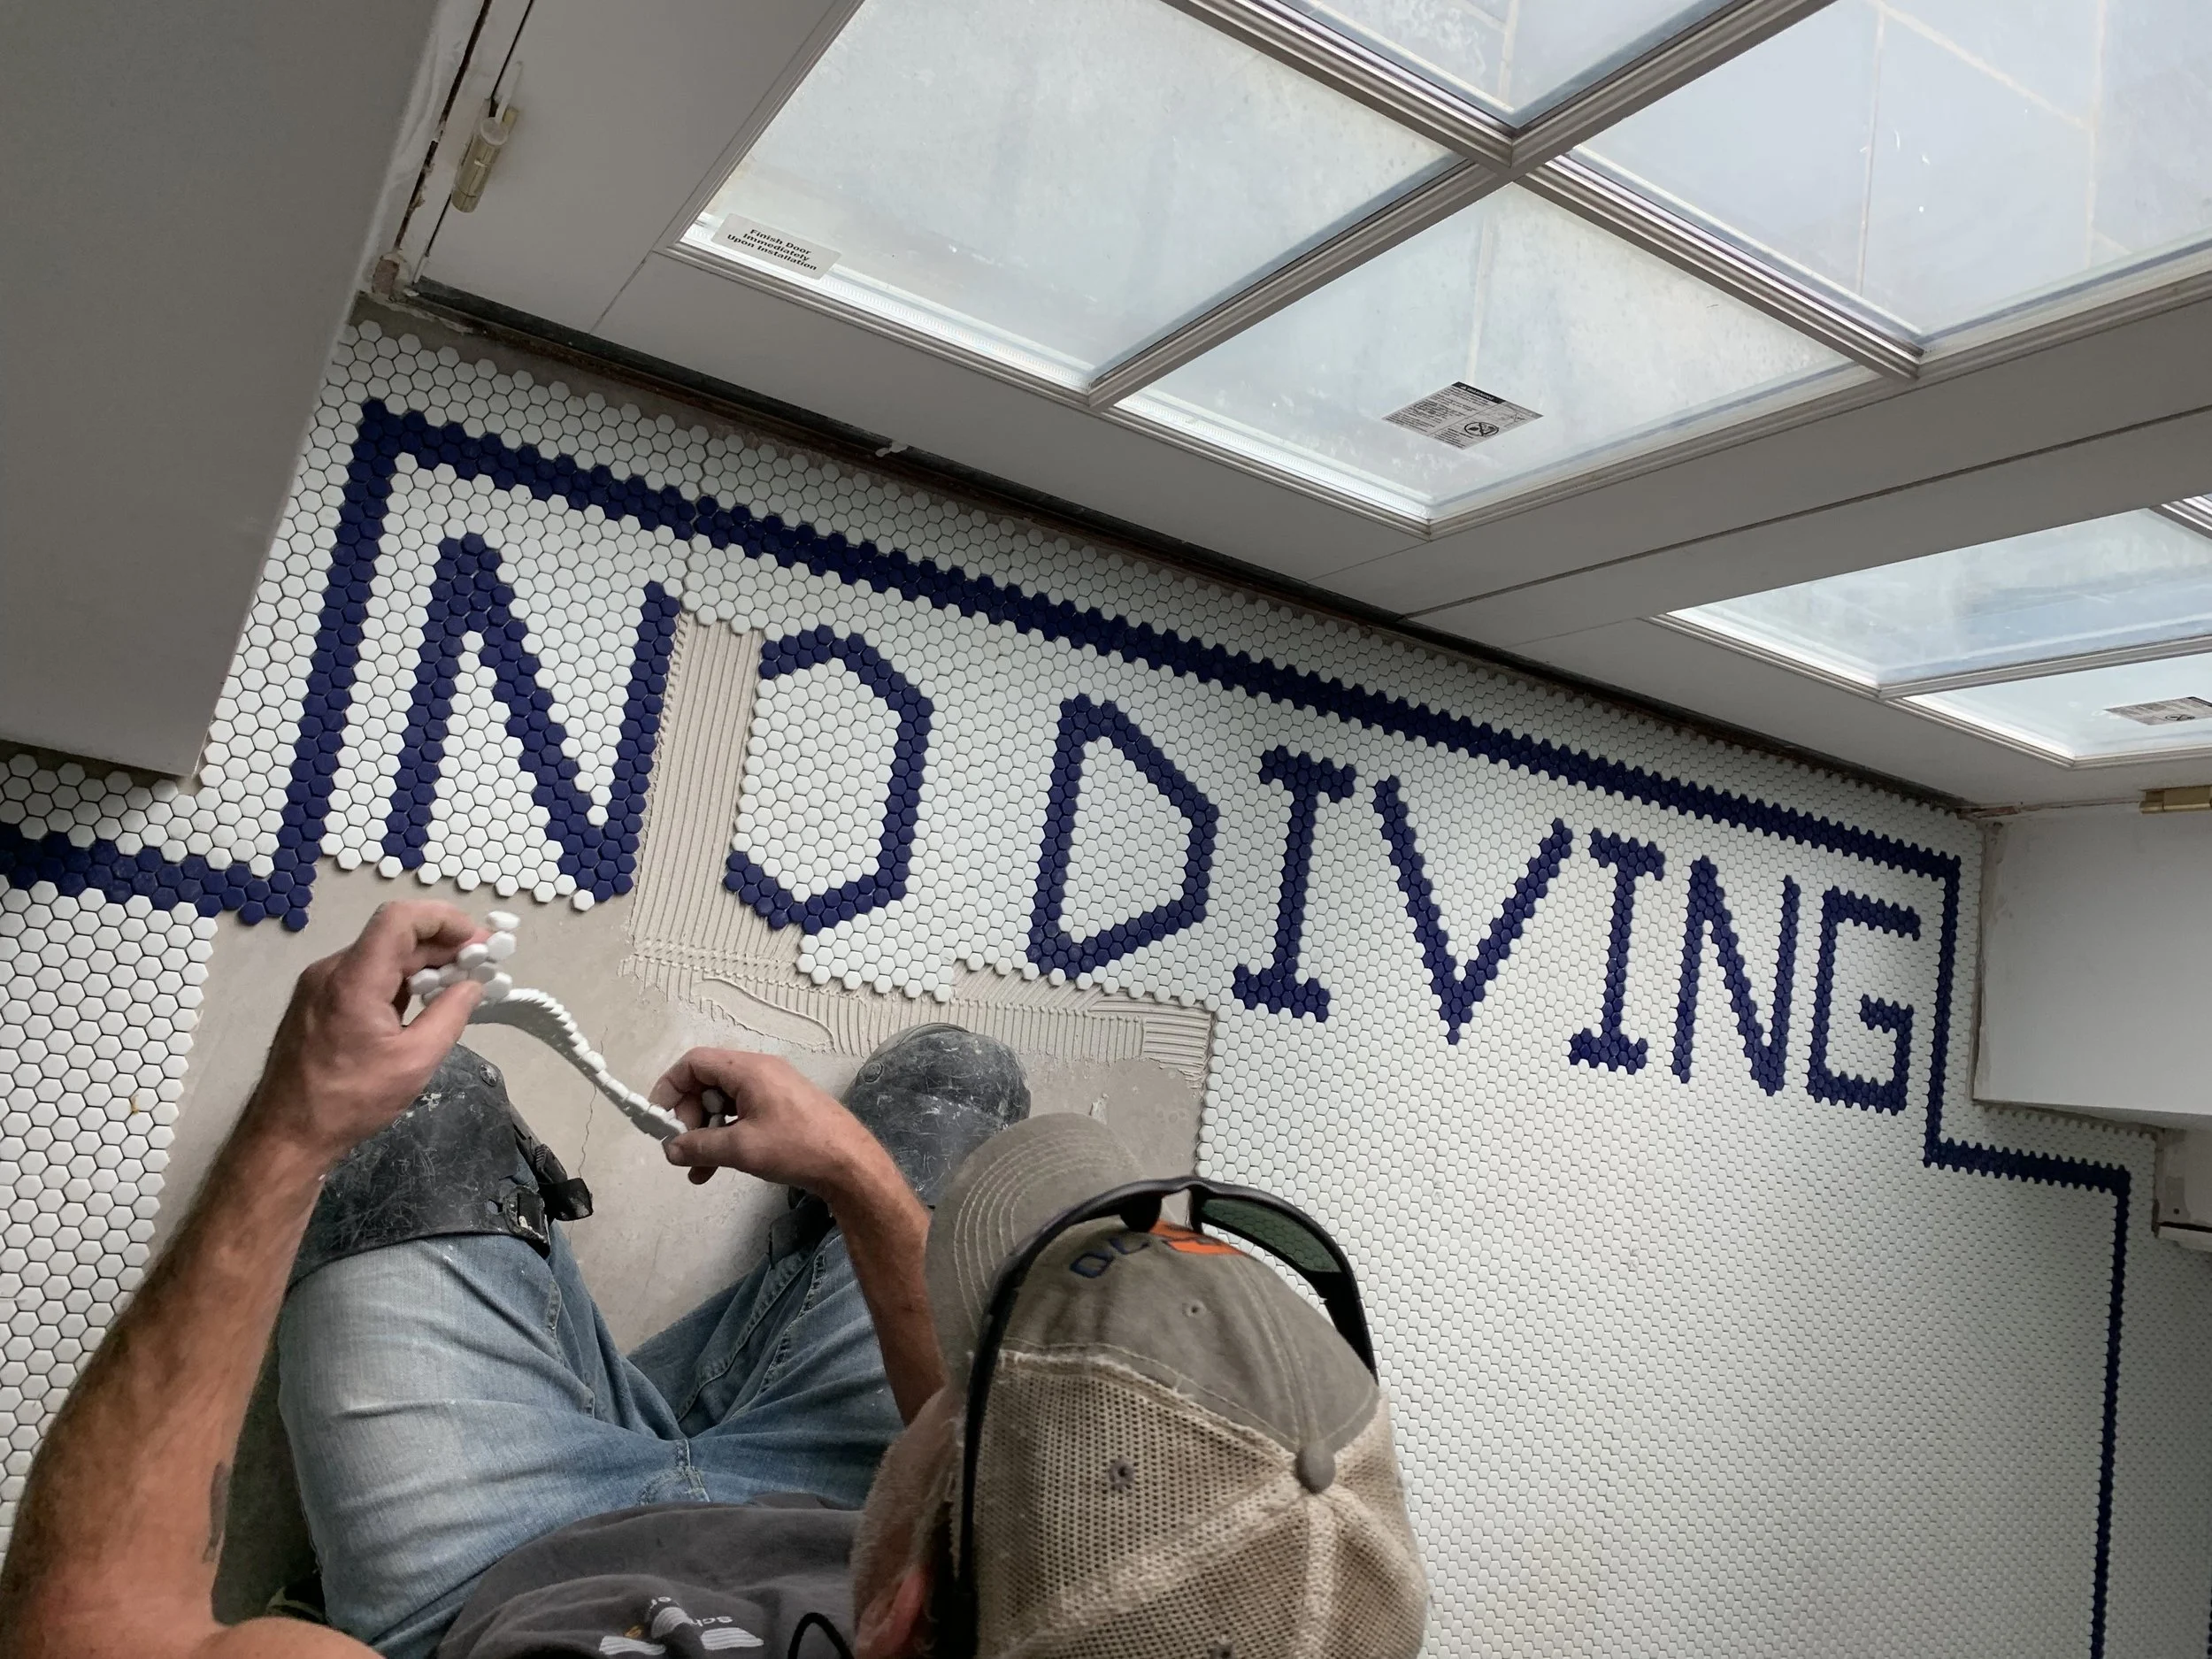
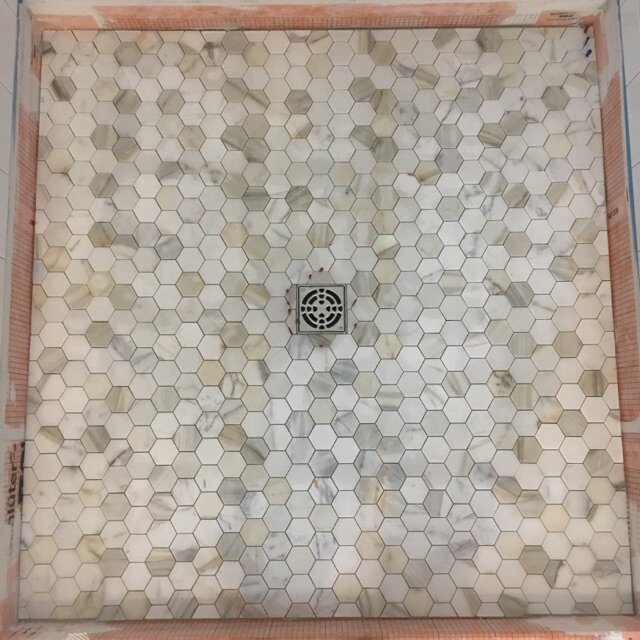
After the prep work was complete, layouts were finalized and the tile was installed.

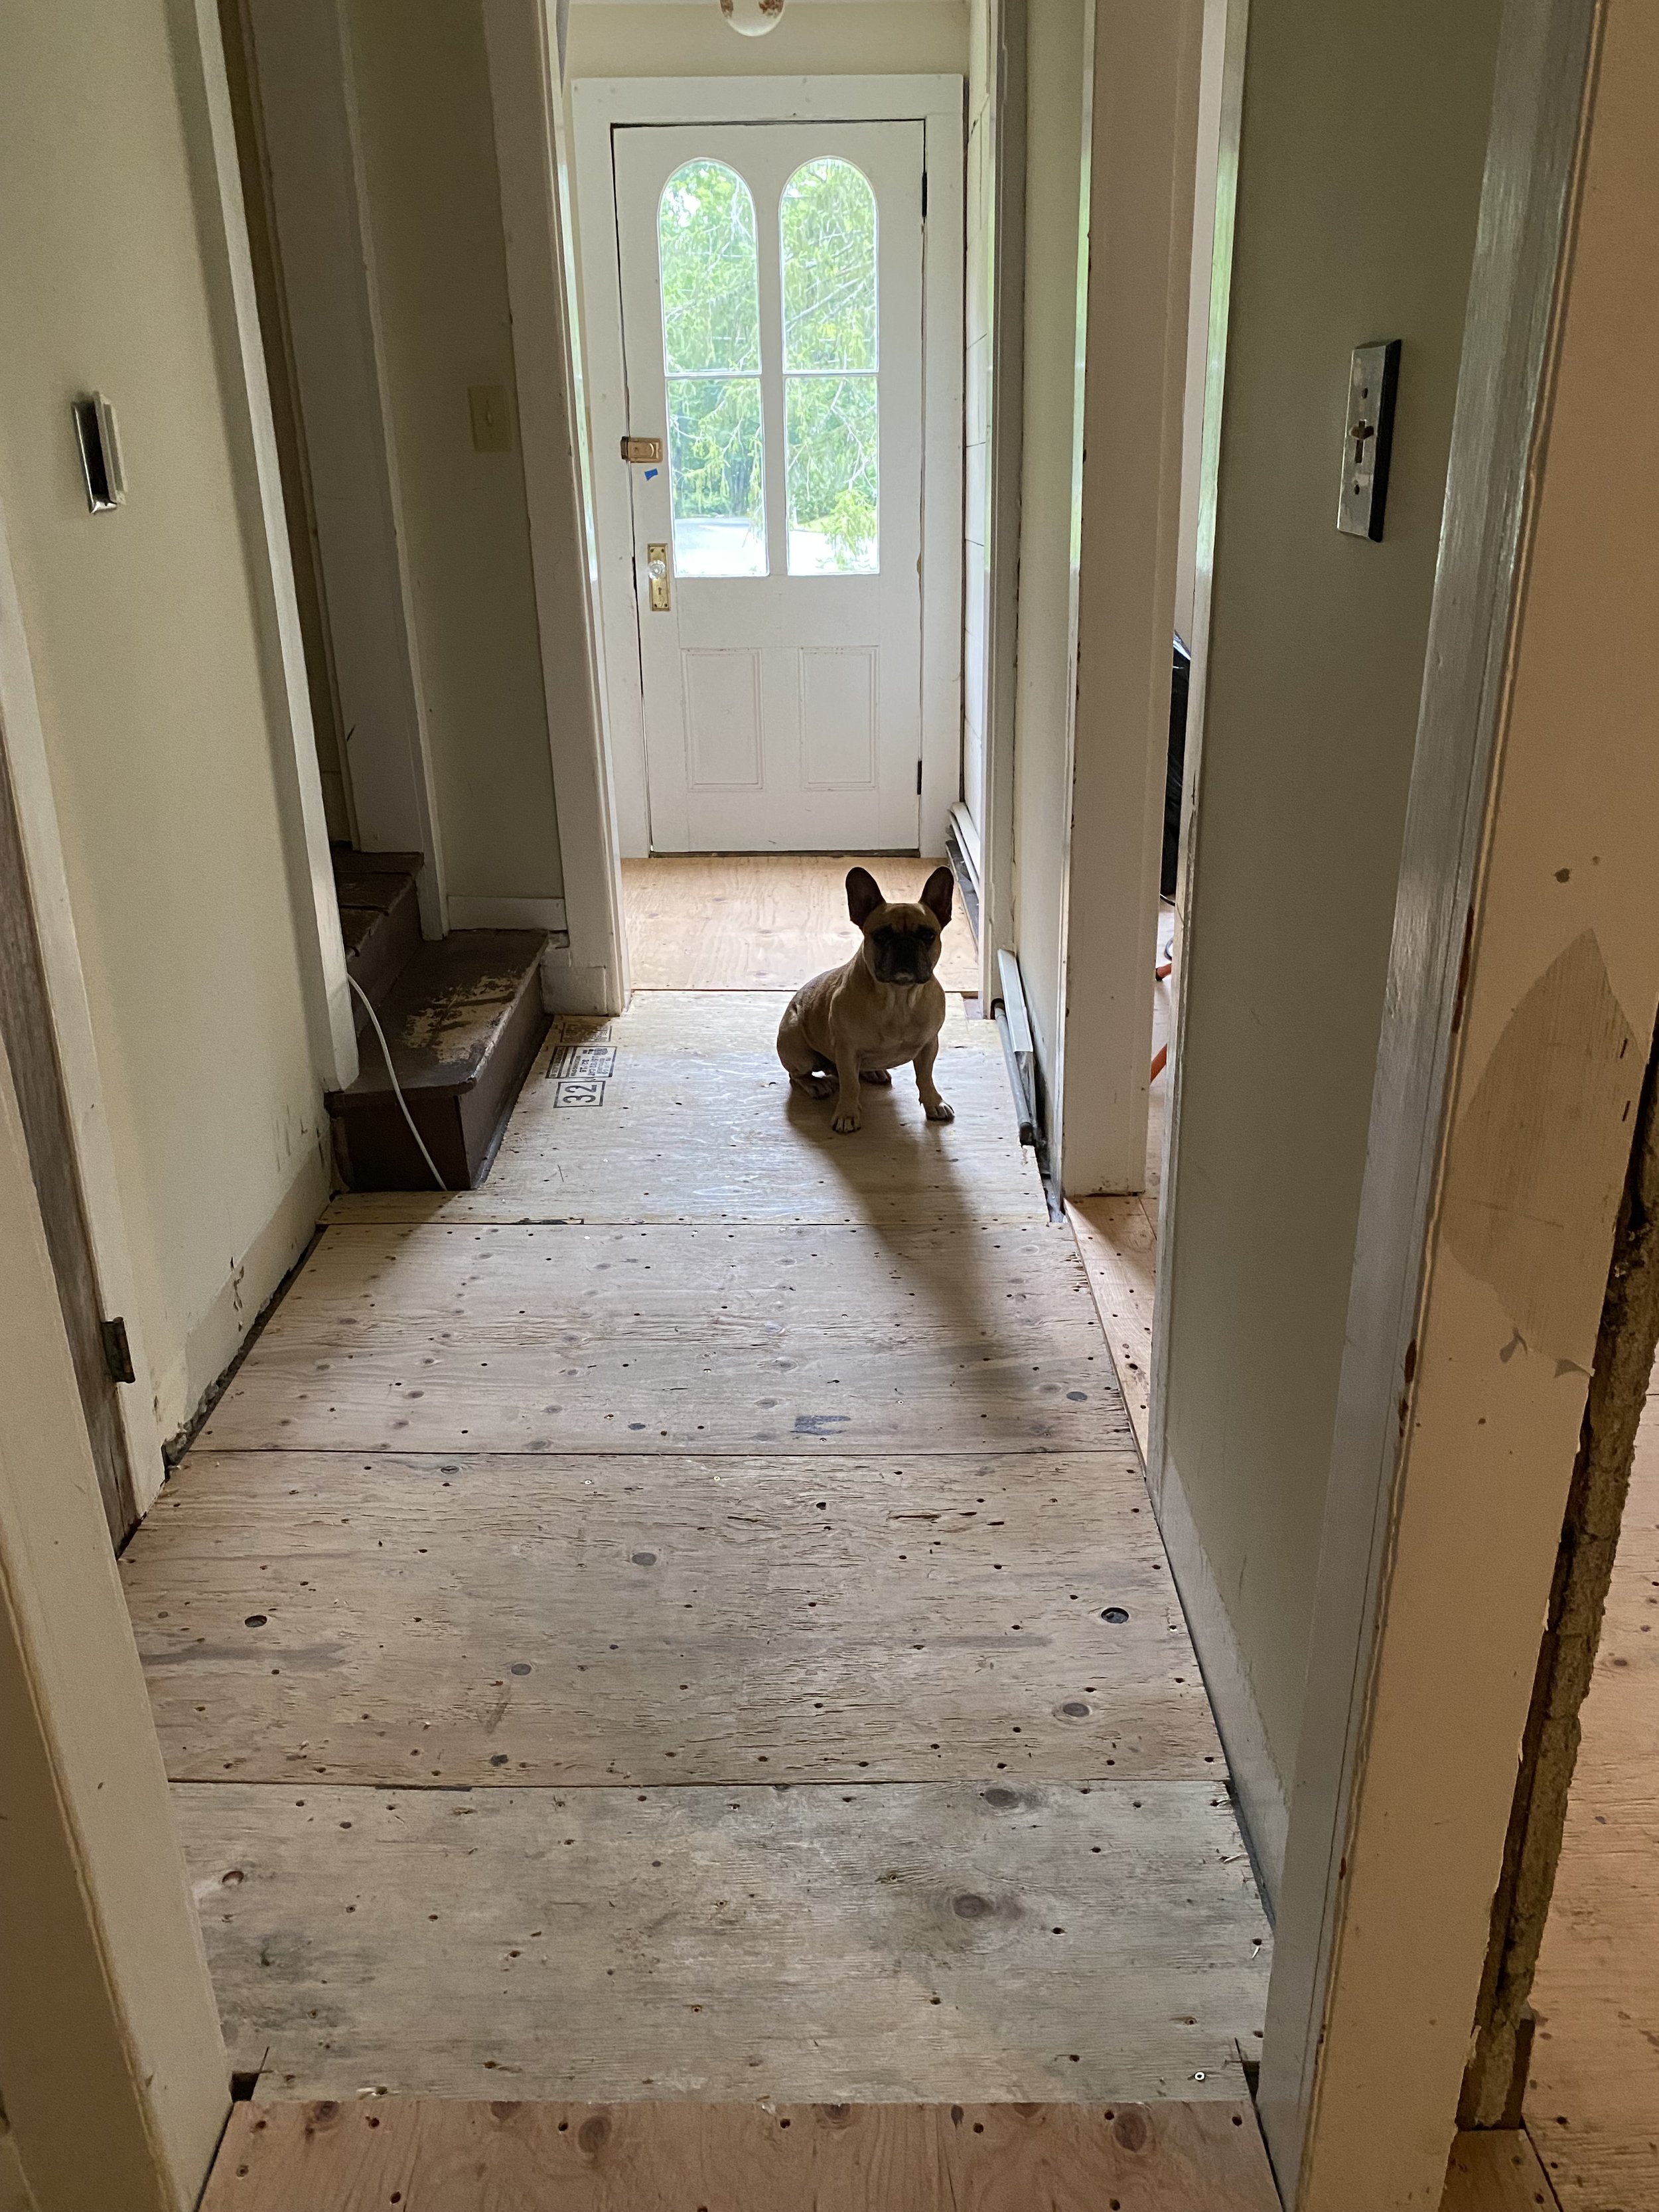
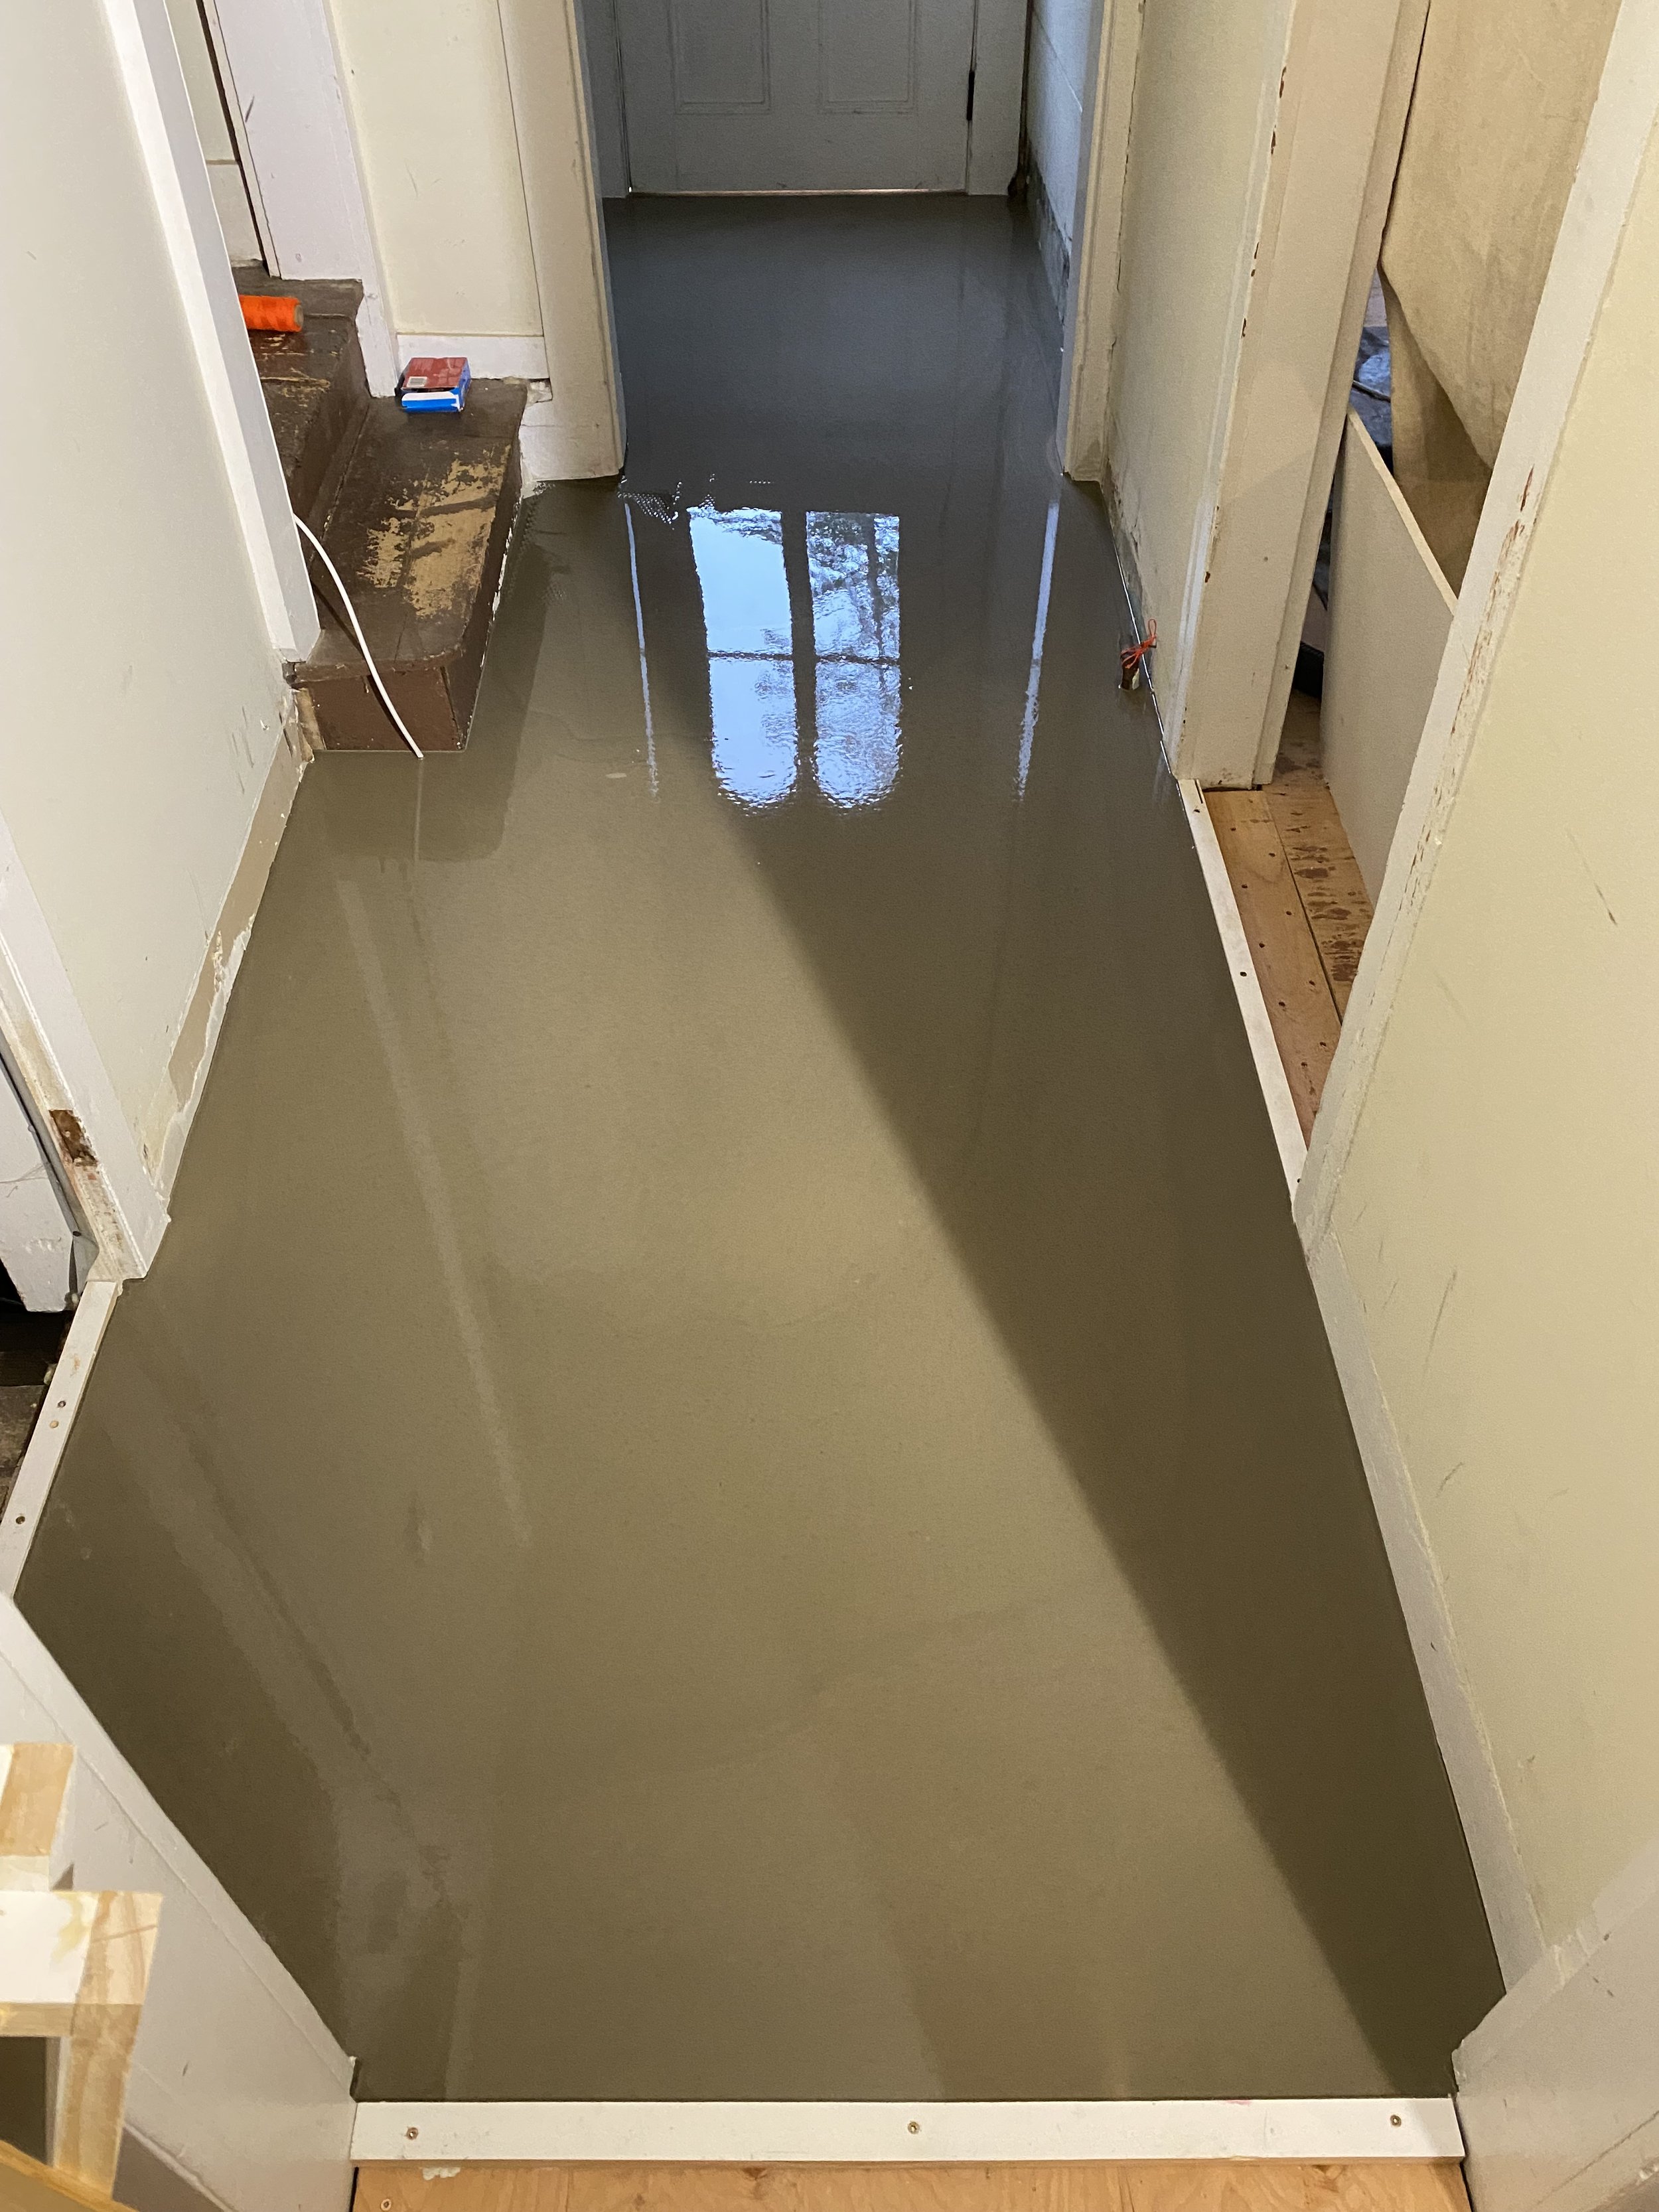
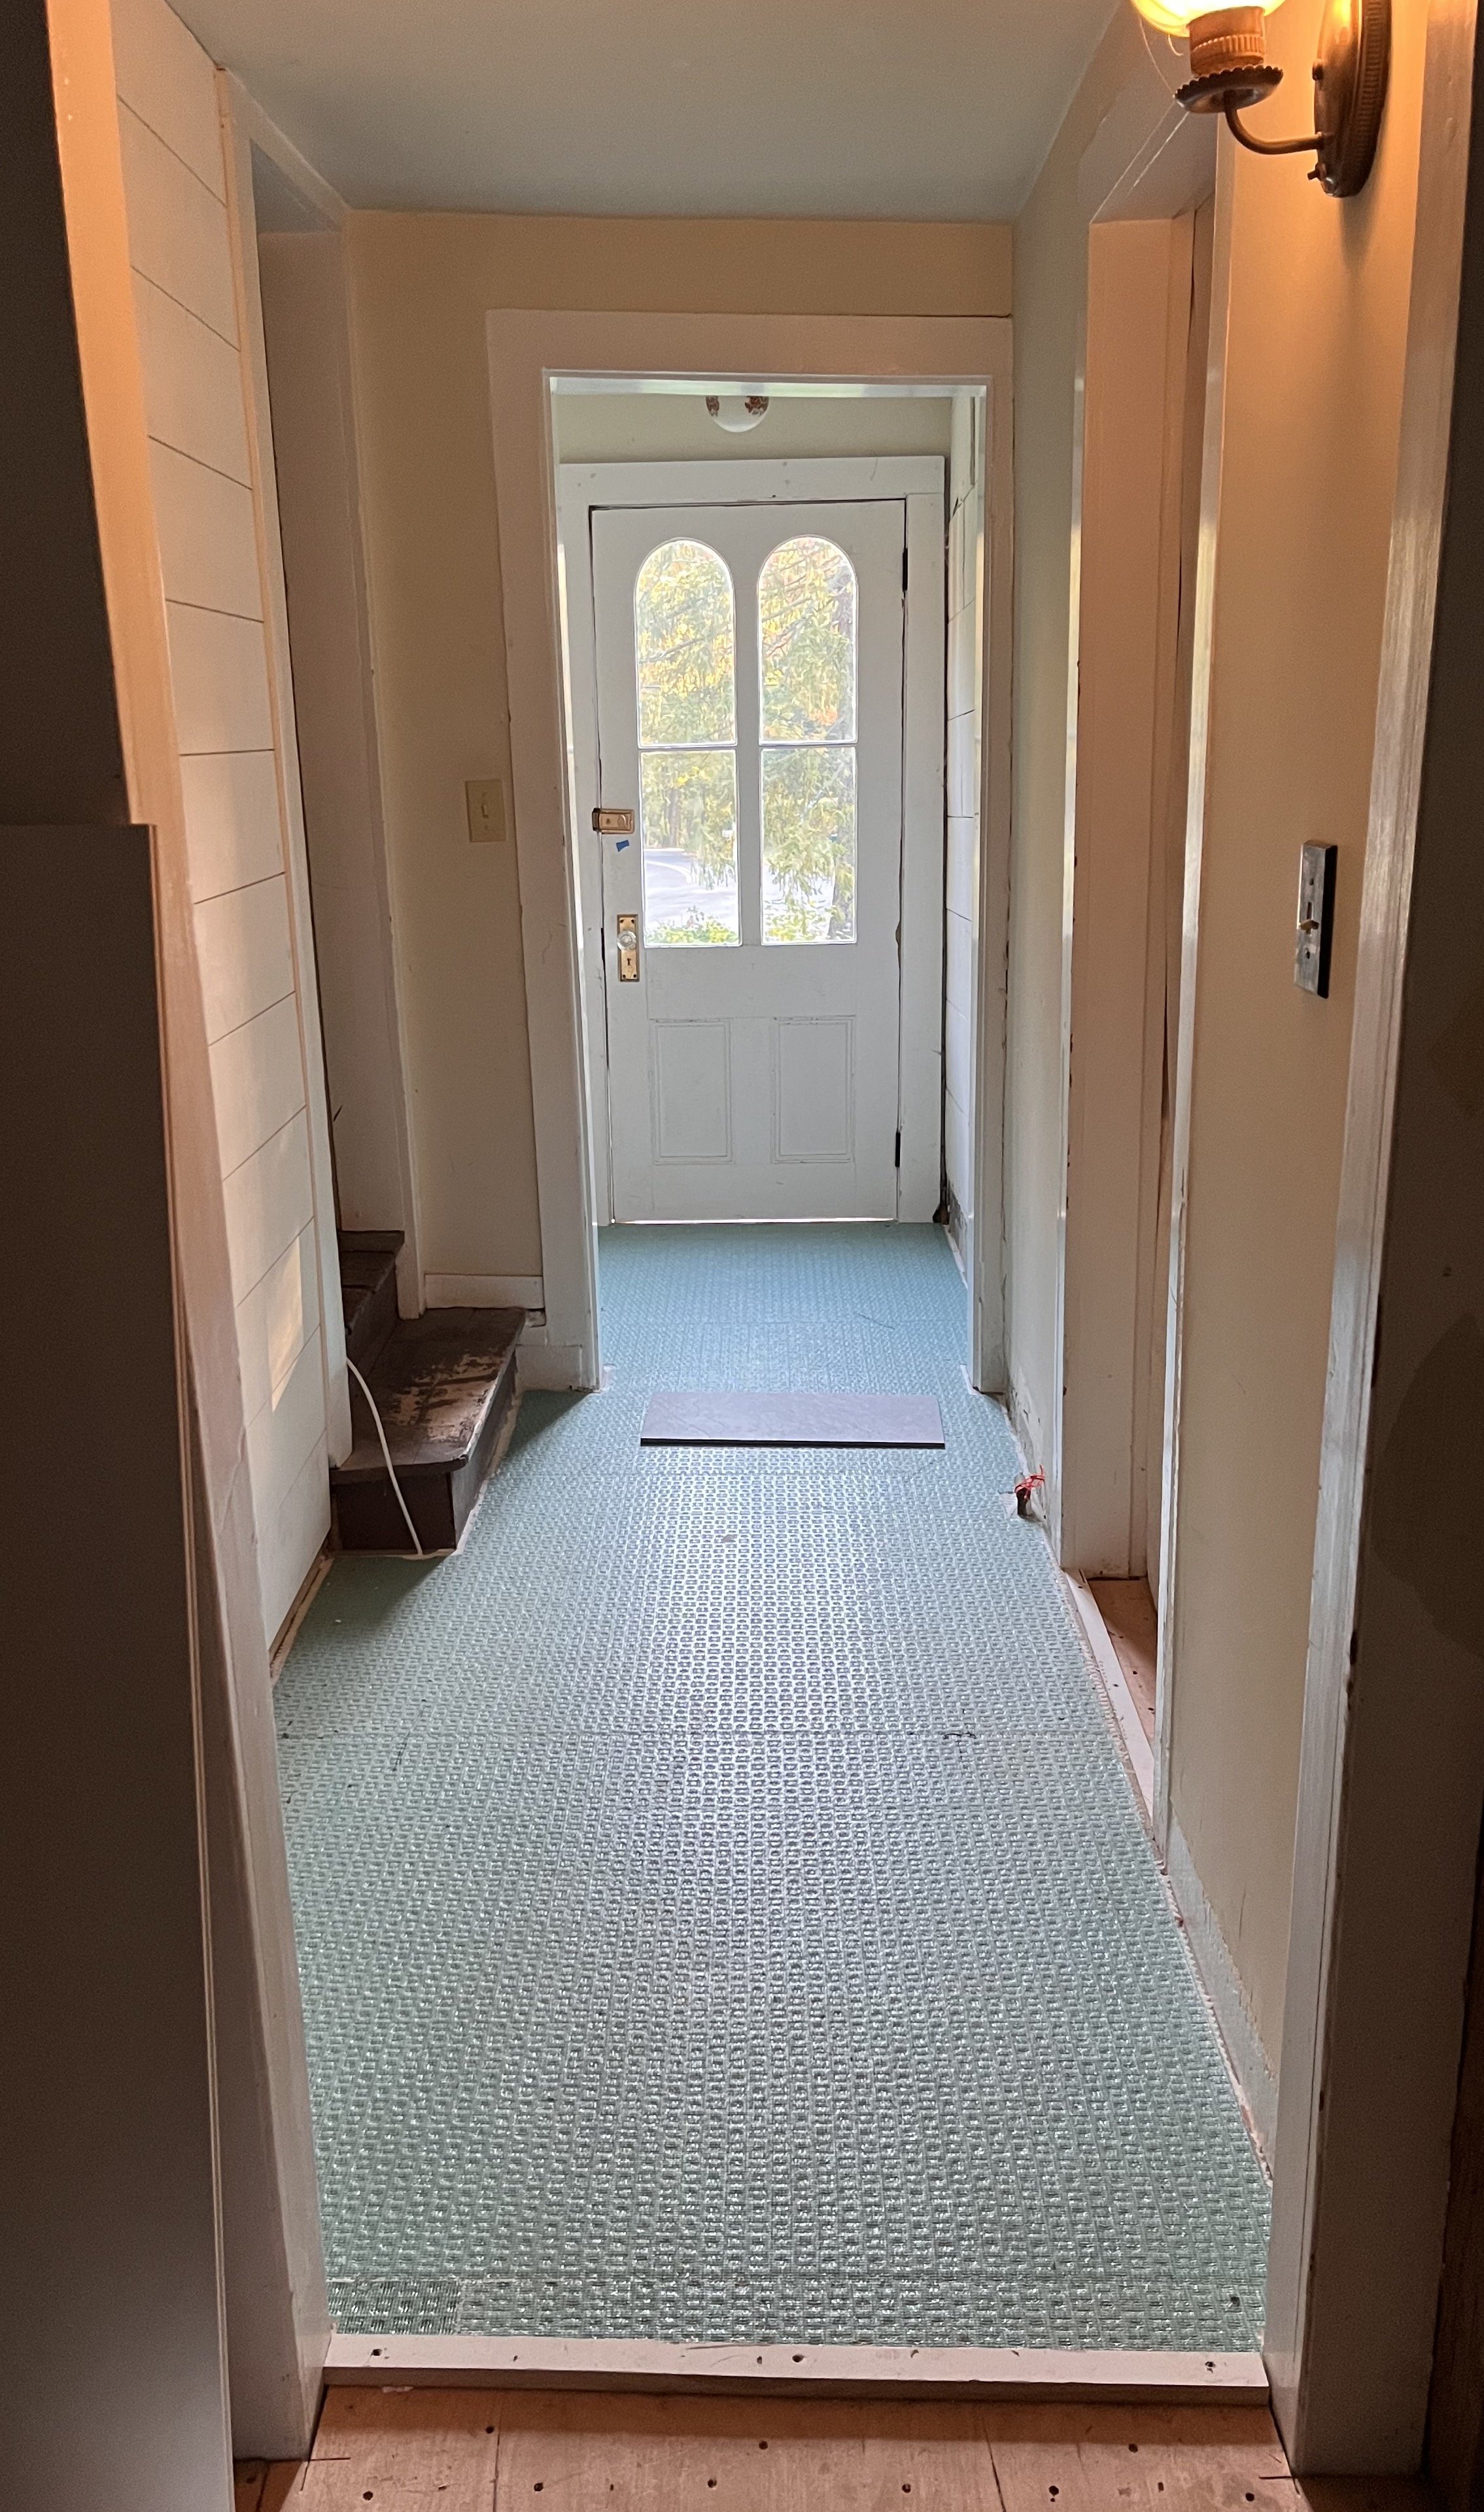
Floor Preparation & Installation
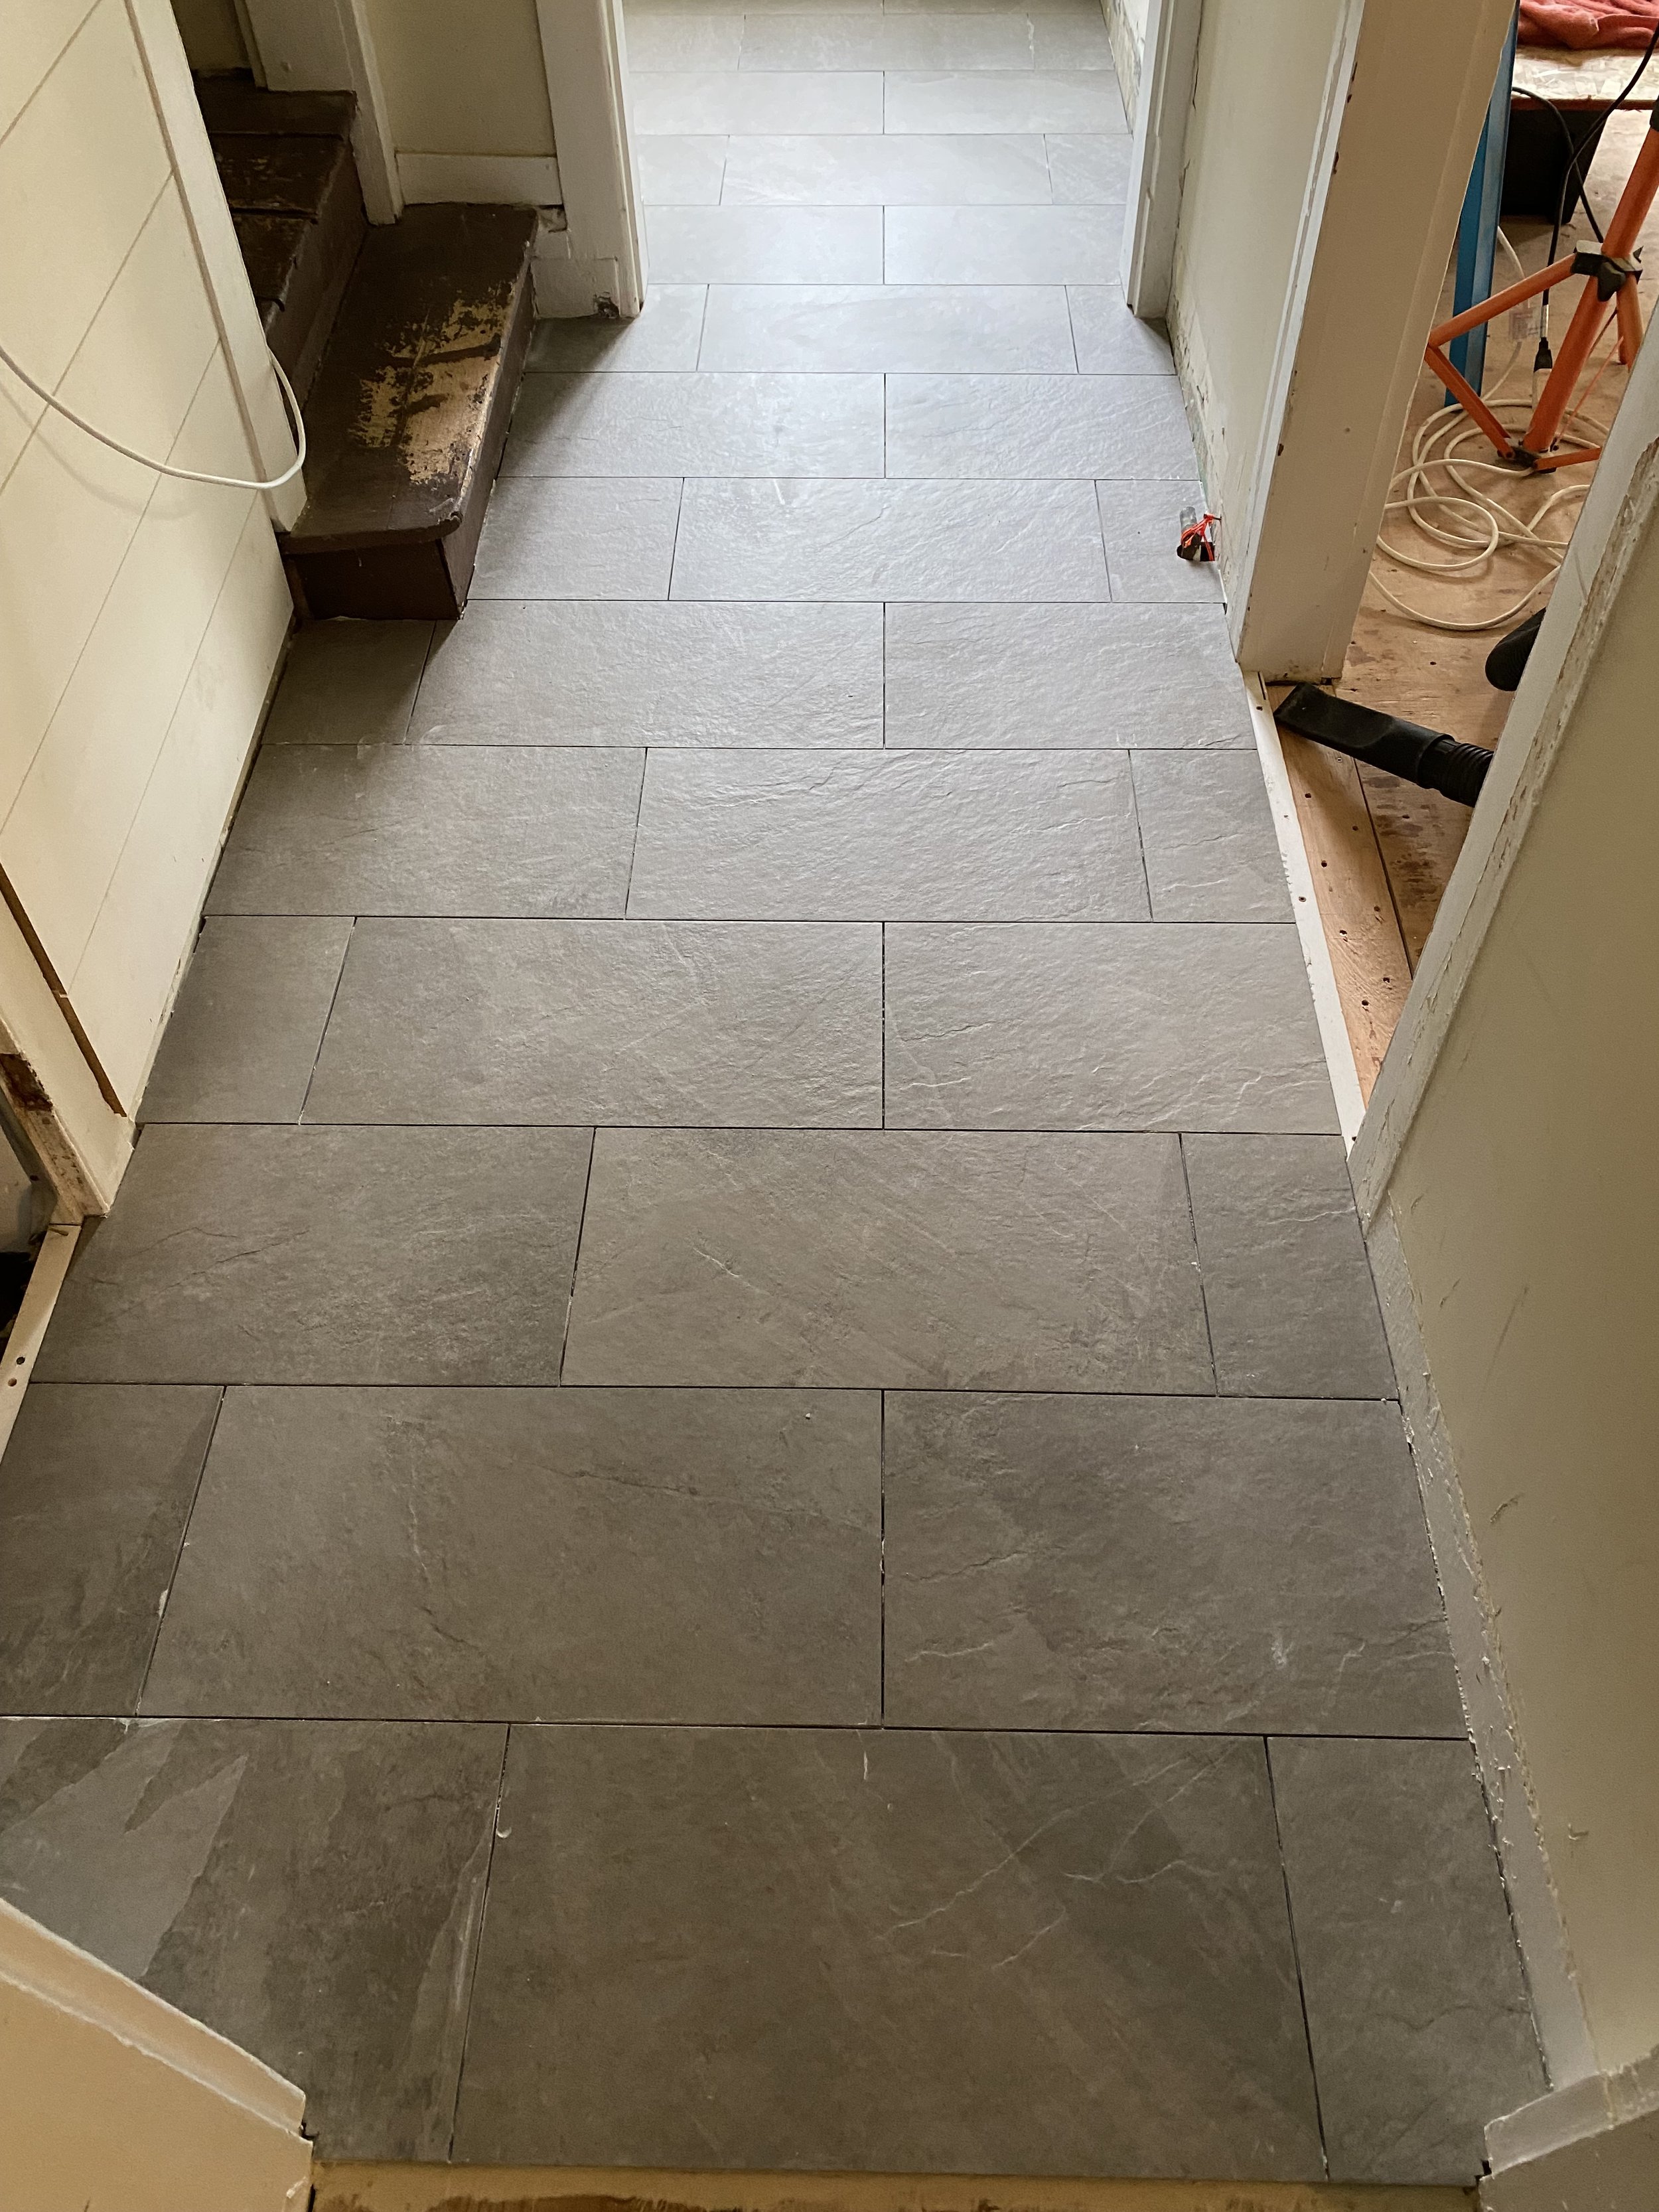
In this particular situation we put down a second layer of plywood on the original subfloor for added strength. Self leveler was poured in the next step to take out any inconsistencies in the floor. Leveling was followed by the installation of Mapeguard, an uncoupling membrane that protects against shear movement and the possibility of cracking. Then the tile was ready to be installed and grouted.
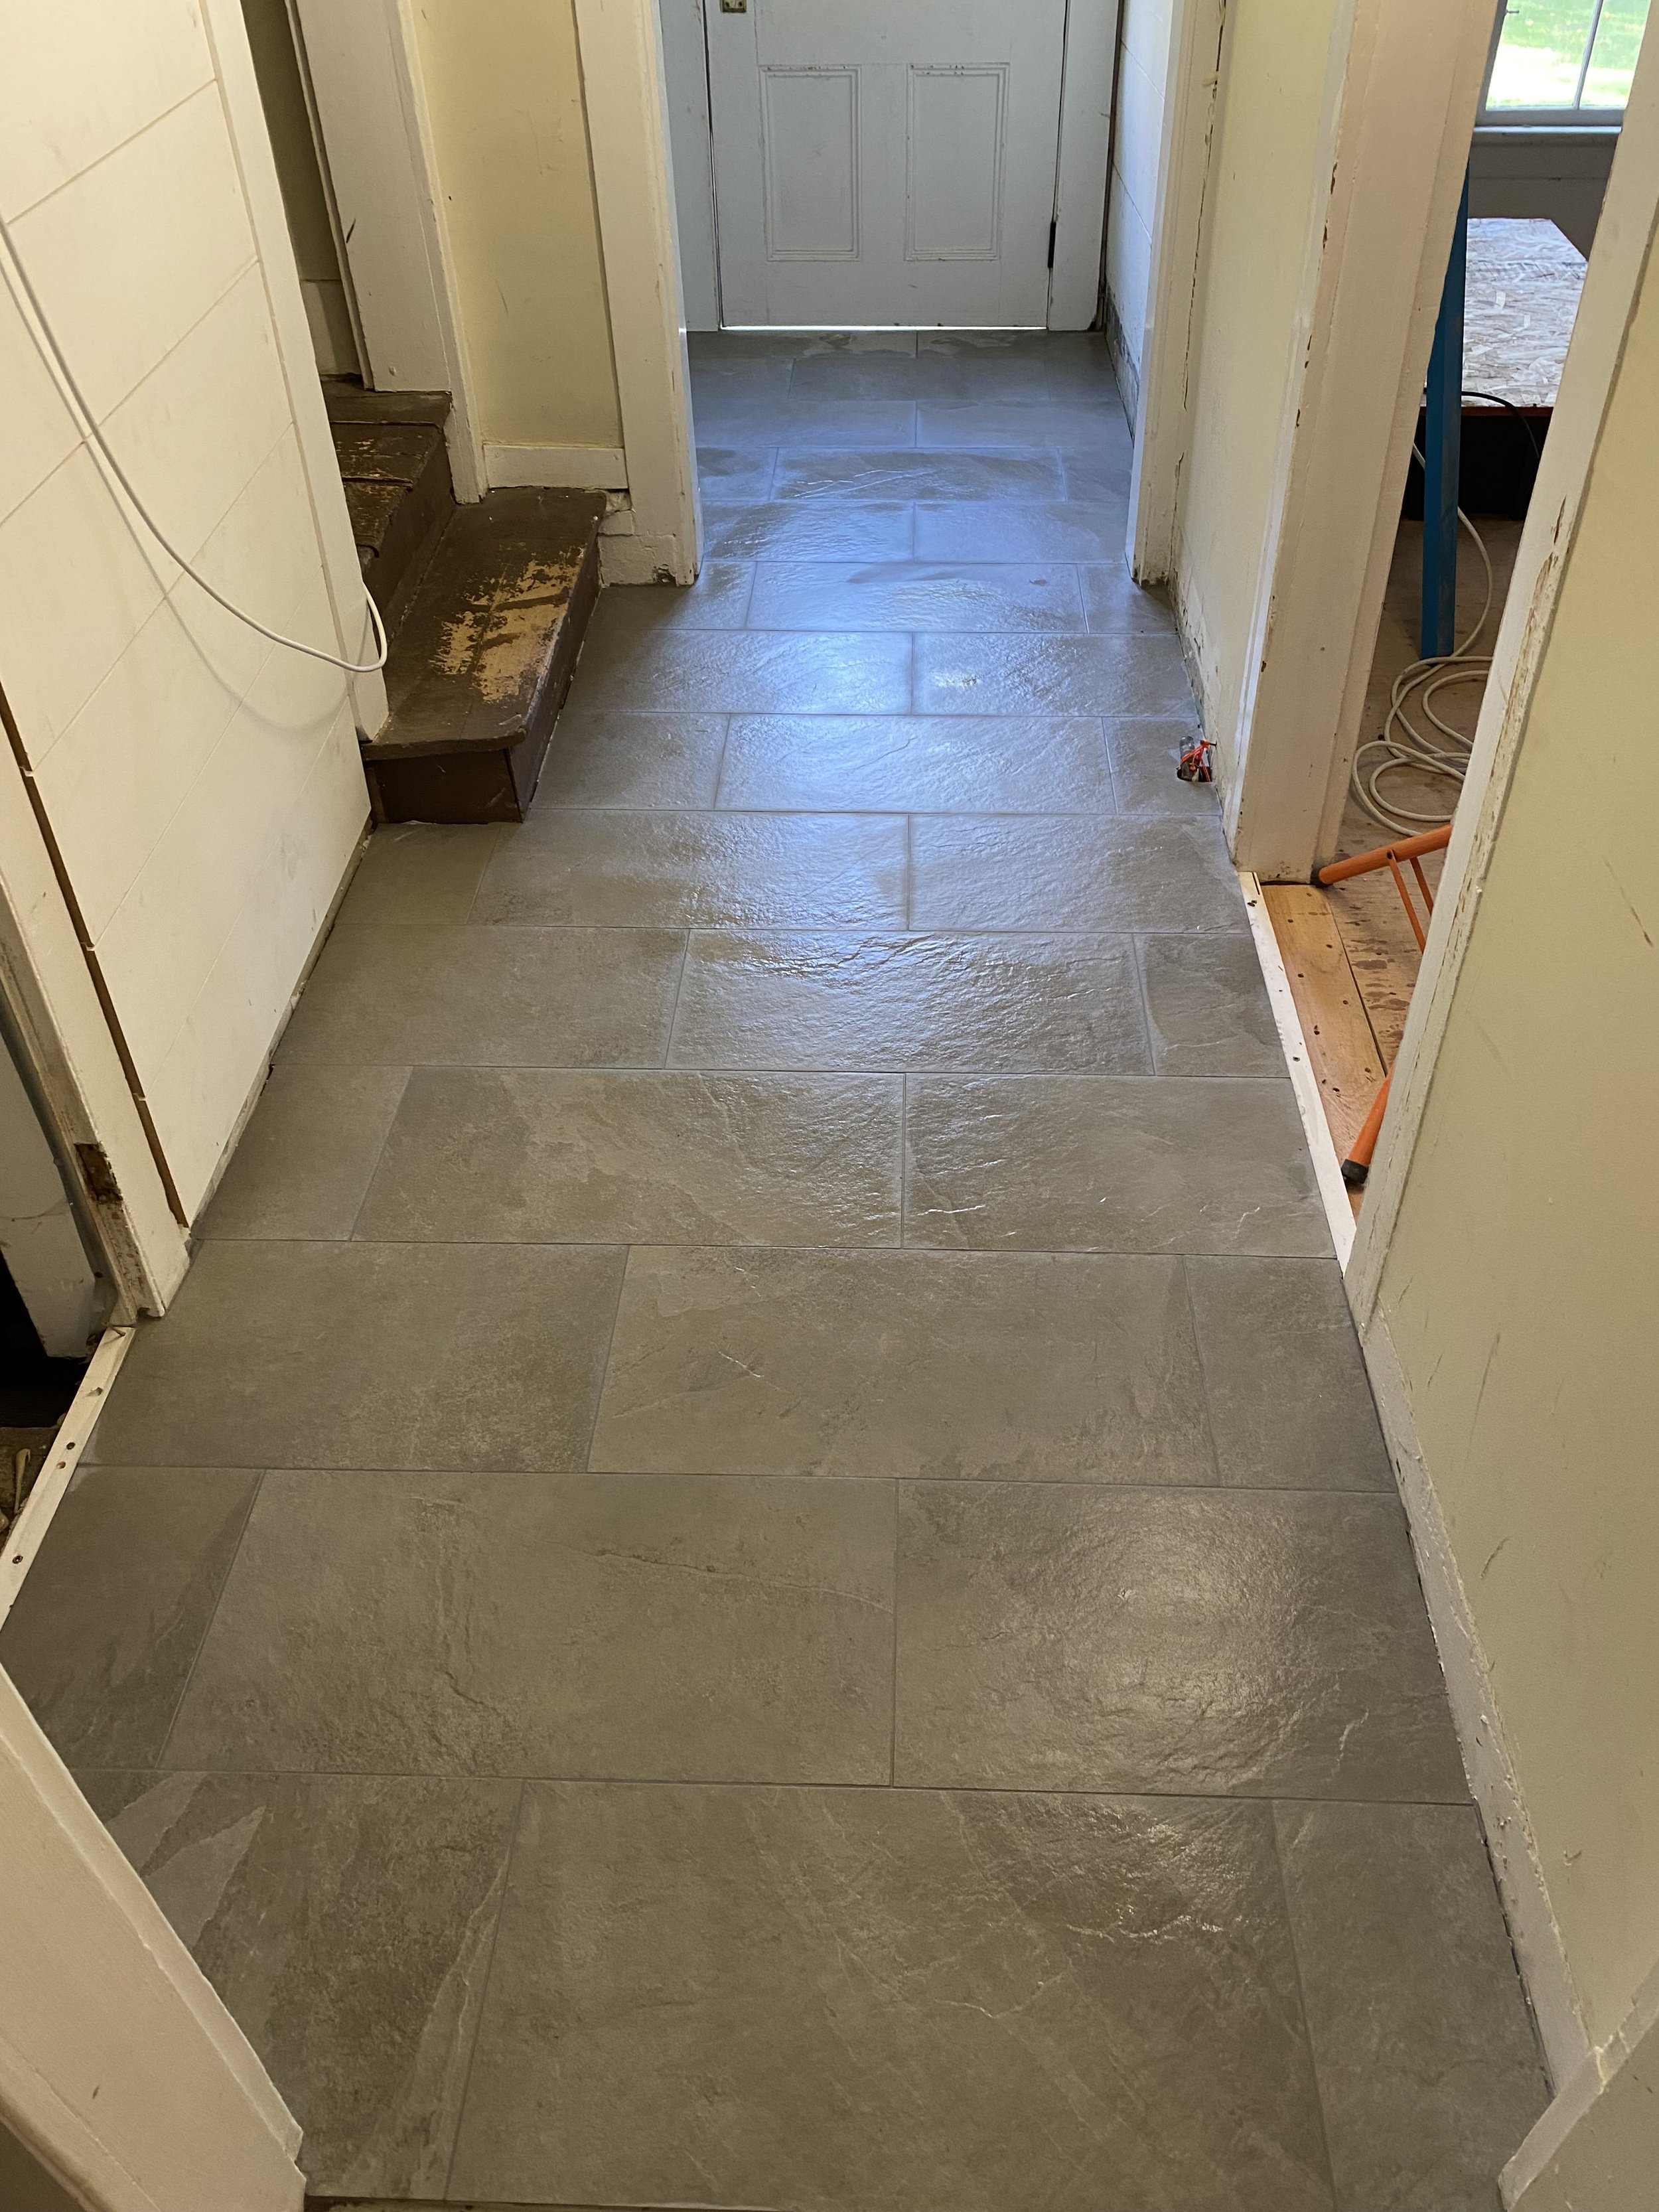
Every installation requires a different process. We access each job and formulate an approach, and then we implement our process. We have many different methods to contend with all sorts of scenarios. Each with the intention of giving you the best and longest lasting product possible; whether it be a shower, backsplash, or floor in your home.